DIY Kayak Conversions for Fishing: A Comprehensive Guide
1. Introduction to Kayak Fishing
1.1 Why Kayak Fishing?
Kayak fishing combines the thrill of fishing with the mobility of kayaking, giving anglers access to shallow waters and secluded areas that motorboats cannot reach. It’s more affordable and eco-friendly than traditional boat fishing, making it an attractive option for both hobbyists and serious anglers. Kayaks allow for a quieter approach to fishing spots, increasing the likelihood of a successful catch.
1.2 Benefits of Kayak Fishing
Kayak fishing is not just about cost-efficiency; it offers a unique, intimate experience with nature. The proximity to the water, the challenge of controlling your vessel while casting a line, and the satisfaction of landing a fish on a kayak are unbeatable. Moreover, fishing from a kayak allows for stealthy, undisturbed access to fish-rich environments.
1.3 Importance of Kayak Modifications
While kayaks offer a versatile platform for fishing, they are not always optimized for the task. Adding modifications such as rod holders, fish finders, and additional storage will significantly enhance your fishing experience. Modifying a kayak for fishing doesn’t just make it more functional; it also improves safety and comfort during longer trips.
2. Choosing the Right Kayak for Fishing
2.1 Sit-On-Top vs. Sit-In Kayaks
When selecting a kayak for fishing, the type of kayak is crucial. Both sit-on-top and sit-in kayaks have their advantages, and choosing the right one largely depends on your fishing environment, personal preferences, and the type of water you fish in.
Sit-On-Top Kayaks
Sit-on-top kayaks are the most popular choice for anglers. Their open deck design allows for easy movement, making it simple to stand, cast, or retrieve gear. These kayaks provide excellent stability, especially in rough waters, and are often self-draining with scupper holes that let water escape. This makes them ideal for fishing in saltwater, lakes, and rivers, where choppy conditions may arise. Because the paddler is seated higher above the water, it also offers a better vantage point for sight fishing and provides more storage options for gear.
- Key Advantages: Easy to move around, better for standing and casting, increased stability, self-draining, and more gear space.
- Drawbacks: Exposure to the elements, which means you might get wet more easily, especially in rougher waters.
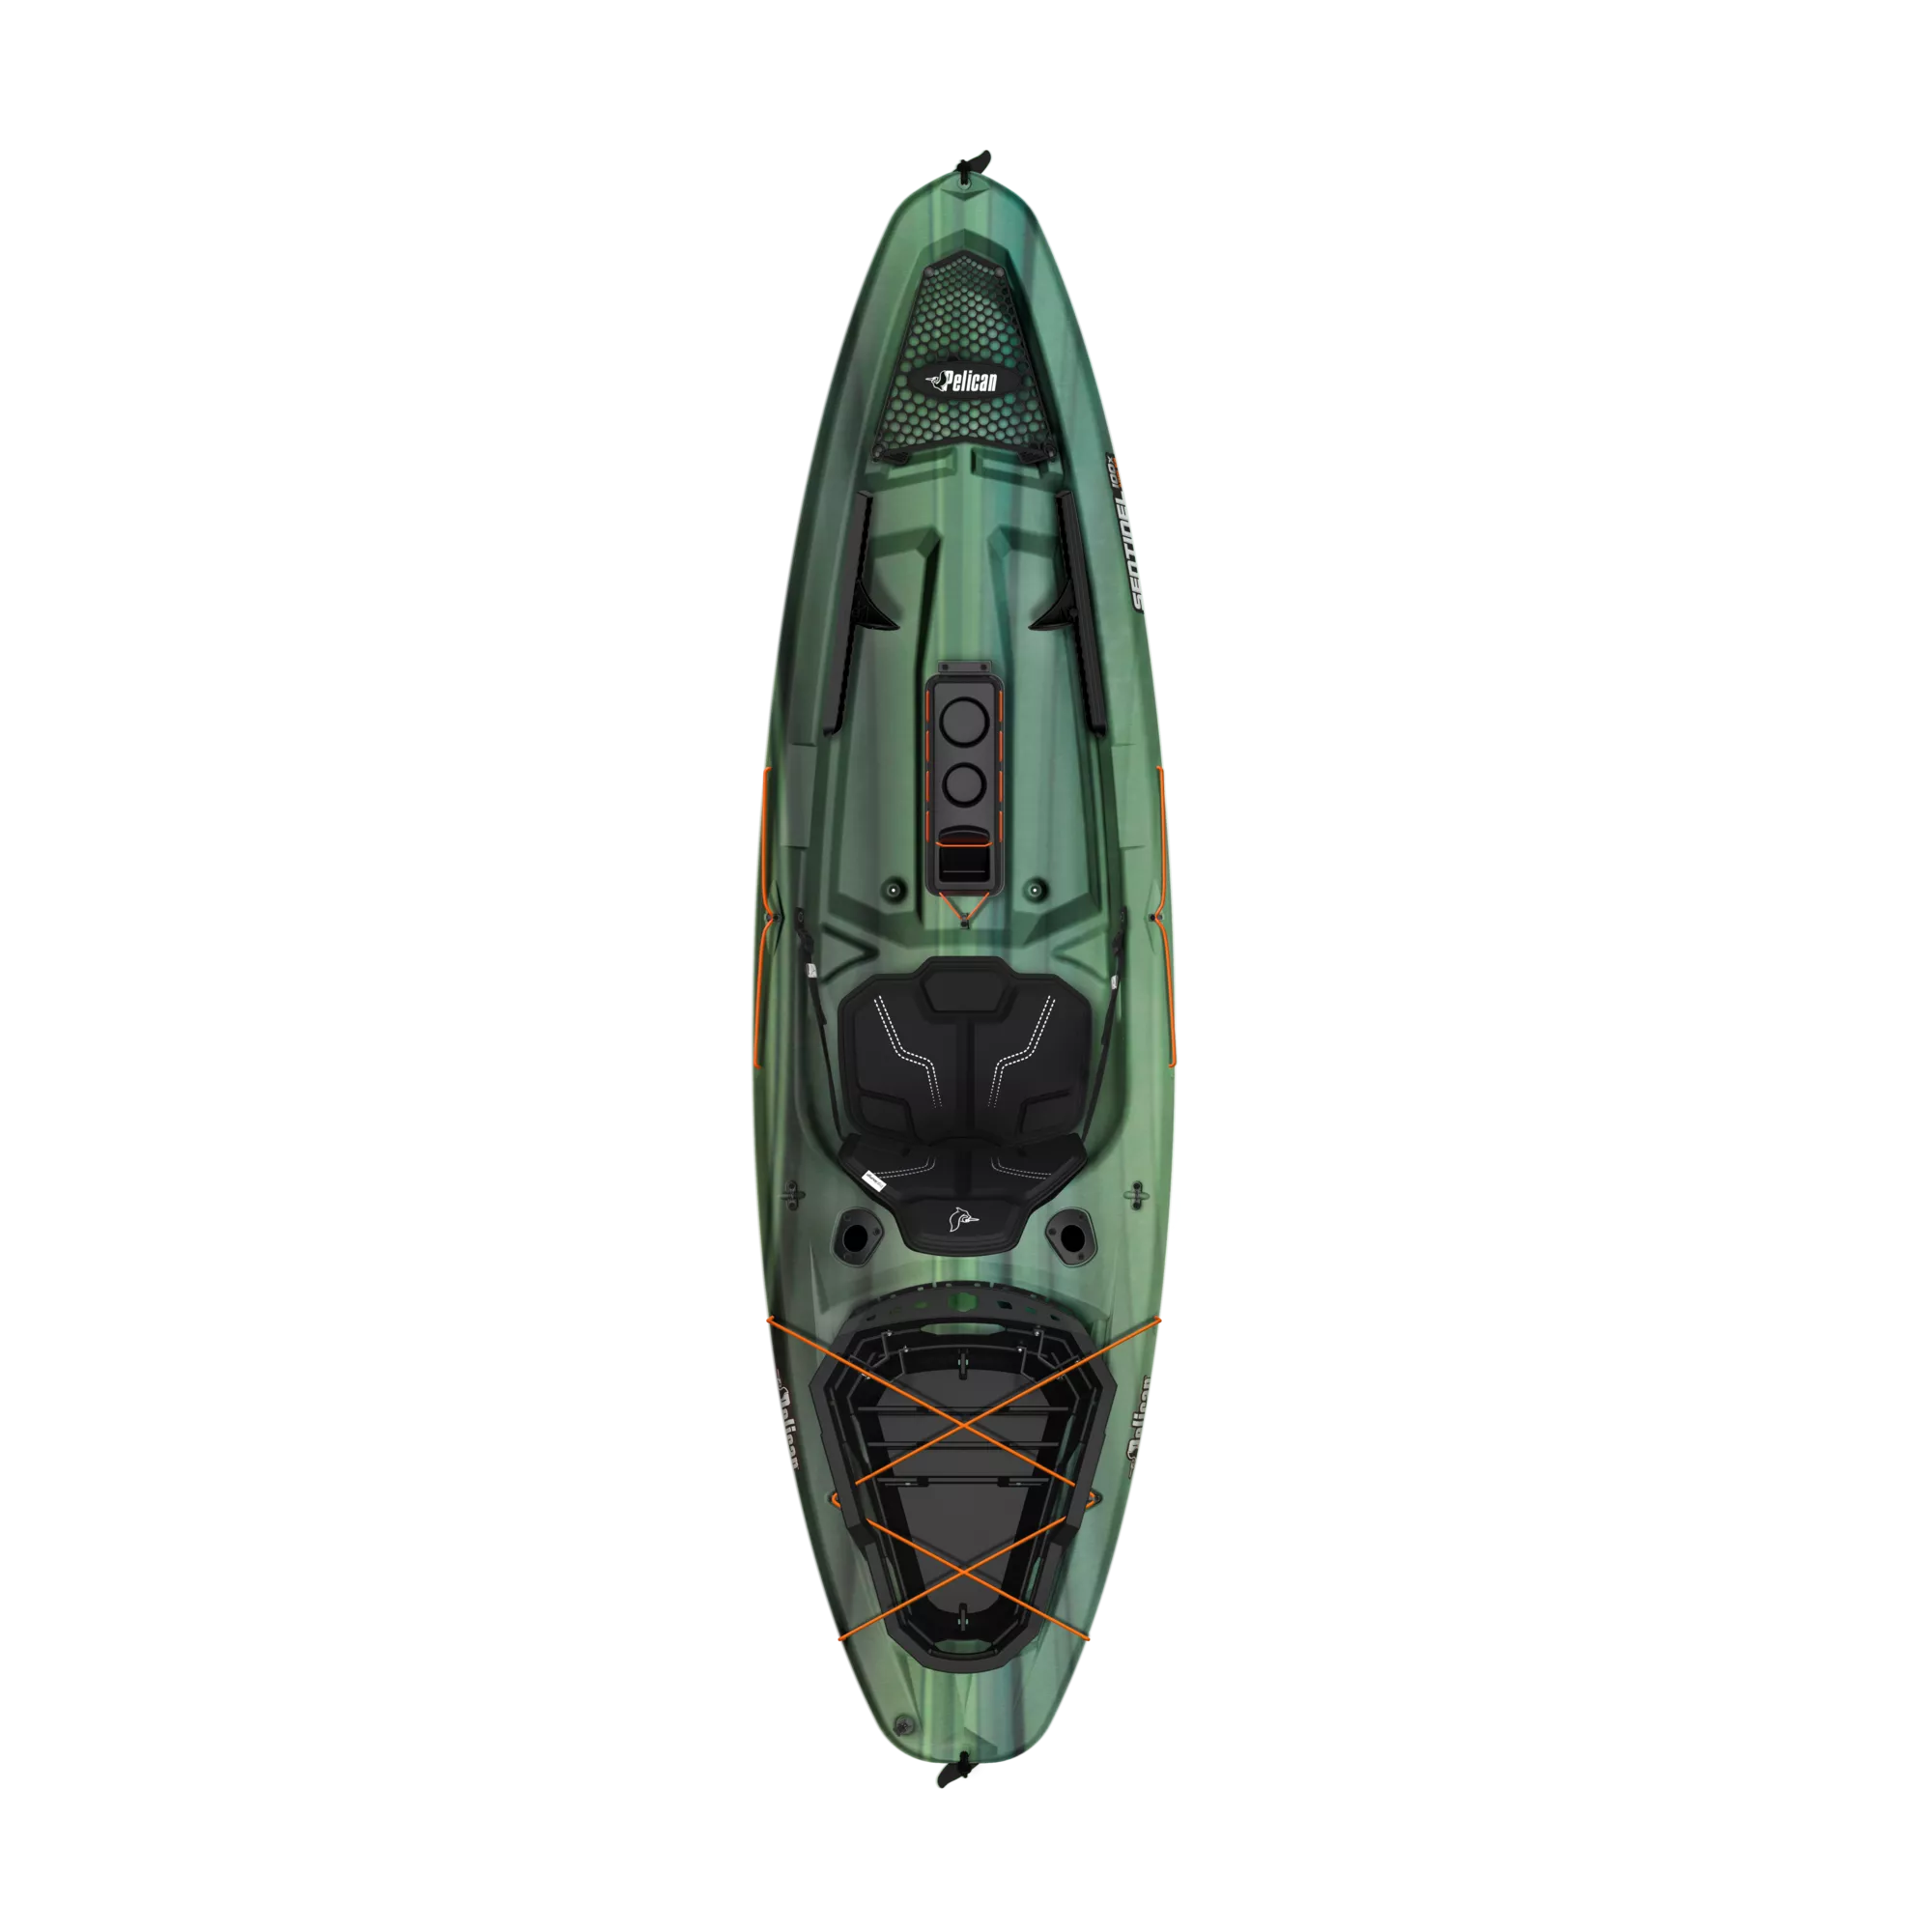
Sit-On-Top Kayak Example

Sit-In Kayaks
Sit-in kayaks, on the other hand, provide more protection from the elements. They feature a closed cockpit, allowing you to stay drier and more protected from wind and water, making them better suited for colder climates or calmer waters. However, they offer less freedom to move around compared to sit-on-top kayaks. Accessing gear can also be more challenging since much of your storage will need to be inside the kayak. Additionally, sit-in kayaks tend to be lighter and more efficient at paddling long distances, making them an option for anglers looking for speed and less weight to carry.
- Key Advantages: Better protection from the elements, lightweight, and more efficient paddling for long distances.
- Drawbacks: Limited mobility for standing or moving, harder access to gear, and less overall stability for rough water conditions.
Sit-In Kayak Example

Which Kayak Should You Choose?
Your decision between a sit-on-top and sit-in kayak should be based on the type of water you plan to fish in and your personal fishing style. If you’ll be fishing in warmer waters or saltwater environments and prioritize stability and space for your gear, a sit-on-top kayak is likely the best choice. On the other hand, if you fish in cooler weather or prefer a lighter, faster kayak that keeps you more protected from water, a sit-in kayak might suit you better.
Comparison at a Glance:
| Feature | Sit-On-Top Kayaks | Sit-In Kayaks |
|---|---|---|
| Mobility | Allows standing and easy movement | Limited to sitting position |
| Stability | More stable, great for rough waters | Less stable, best for calm waters |
| Protection from Elements | More exposed to wind and water | Offers better protection from elements |
| Gear Access | Easy access to all gear | More challenging to access gear inside kayak |
| Weight | Typically heavier | Lighter and easier to carry |
| Water Conditions | Ideal for saltwater, lakes, and rivers | Best for calm lakes and rivers |
Side-by-Side Comparison Photo

2.2 Stability and Size Considerations
A wider kayak provides greater stability, which is vital for activities such as standing and casting. While longer kayaks (12 feet or more) track better and offer more speed, shorter kayaks (under 12 feet) provide superior maneuverability, which is essential when navigating tight spaces like marshes or river bends.
2.3 Weight Capacity
Ensure that the kayak you choose can handle not only your body weight but also the additional gear and modifications. Overloading a kayak can make it sluggish and unstable, compromising your safety.
3. Planning Your DIY Kayak Conversion
3.1 Setting a Budget
Before embarking on your DIY kayak conversion, set a realistic budget. While some modifications, like rod holders, are inexpensive, others—such as adding a fish finder or motorizing your kayak—can become costly. Knowing your budget upfront will help prioritize which features to add first.
3.2 Essential Features to Add
The most critical features for a fishing kayak include rod holders, tackle storage, fish finders, and a comfortable seat. You may also want to consider installing an anchor system, outriggers for added stability, and even a trolling motor for easier navigation.
3.3 Fishing Style Considerations
Think about how you fish. Are you primarily fishing in saltwater or freshwater? Do you prefer casting from a seated position or standing? Your answers will inform the types of modifications that make the most sense for your kayak.
4. Fishing Rod Holders
4.1 Types of Rod Holders
Rod holders come in various designs, including flush mount, track mount, and adjustable holders. Flush mount holders are permanently installed into the kayak’s surface, while track mount holders are versatile and adjustable, allowing you to reposition your rods easily.
4.2 Placement Options
When installing rod holders, it’s essential to consider where you want to keep your rods for quick access while paddling or fishing. Mounting them within arm’s reach is ideal, typically behind the seat or near the cockpit.
4.3 Installation Guide
To install a flush mount rod holder:
- Use a drill to create a pilot hole in the desired location.
- Use a hole saw to create the opening for the holder.
- Insert the rod holder and secure it with stainless steel screws.
- Seal the edges with waterproof silicone to prevent leaks.
For adjustable holders, attach them to a pre-installed track or directly onto the kayak’s surface using mounting hardware provided by the manufacturer.
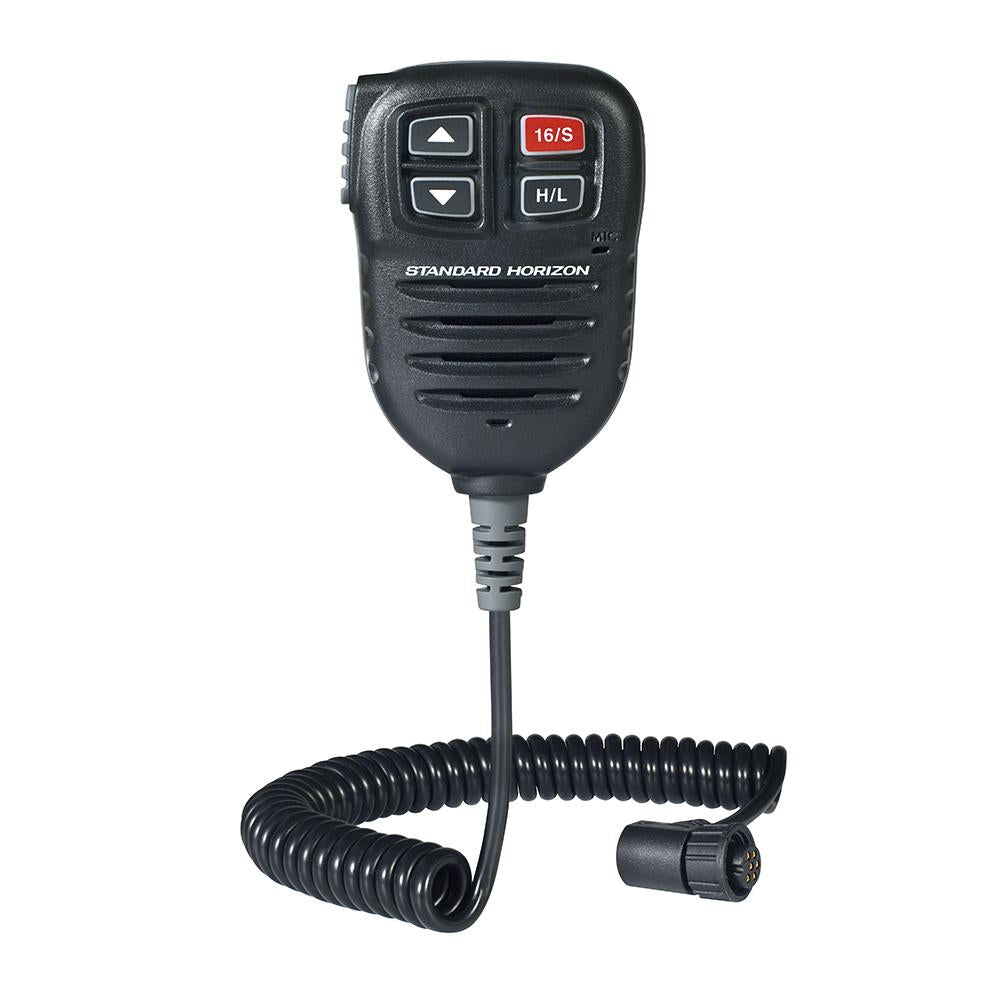
Kayak Fishing Accessories Photos


5. Installing Fish Finders and Electronics
5.1 Choosing the Right Fish Finder
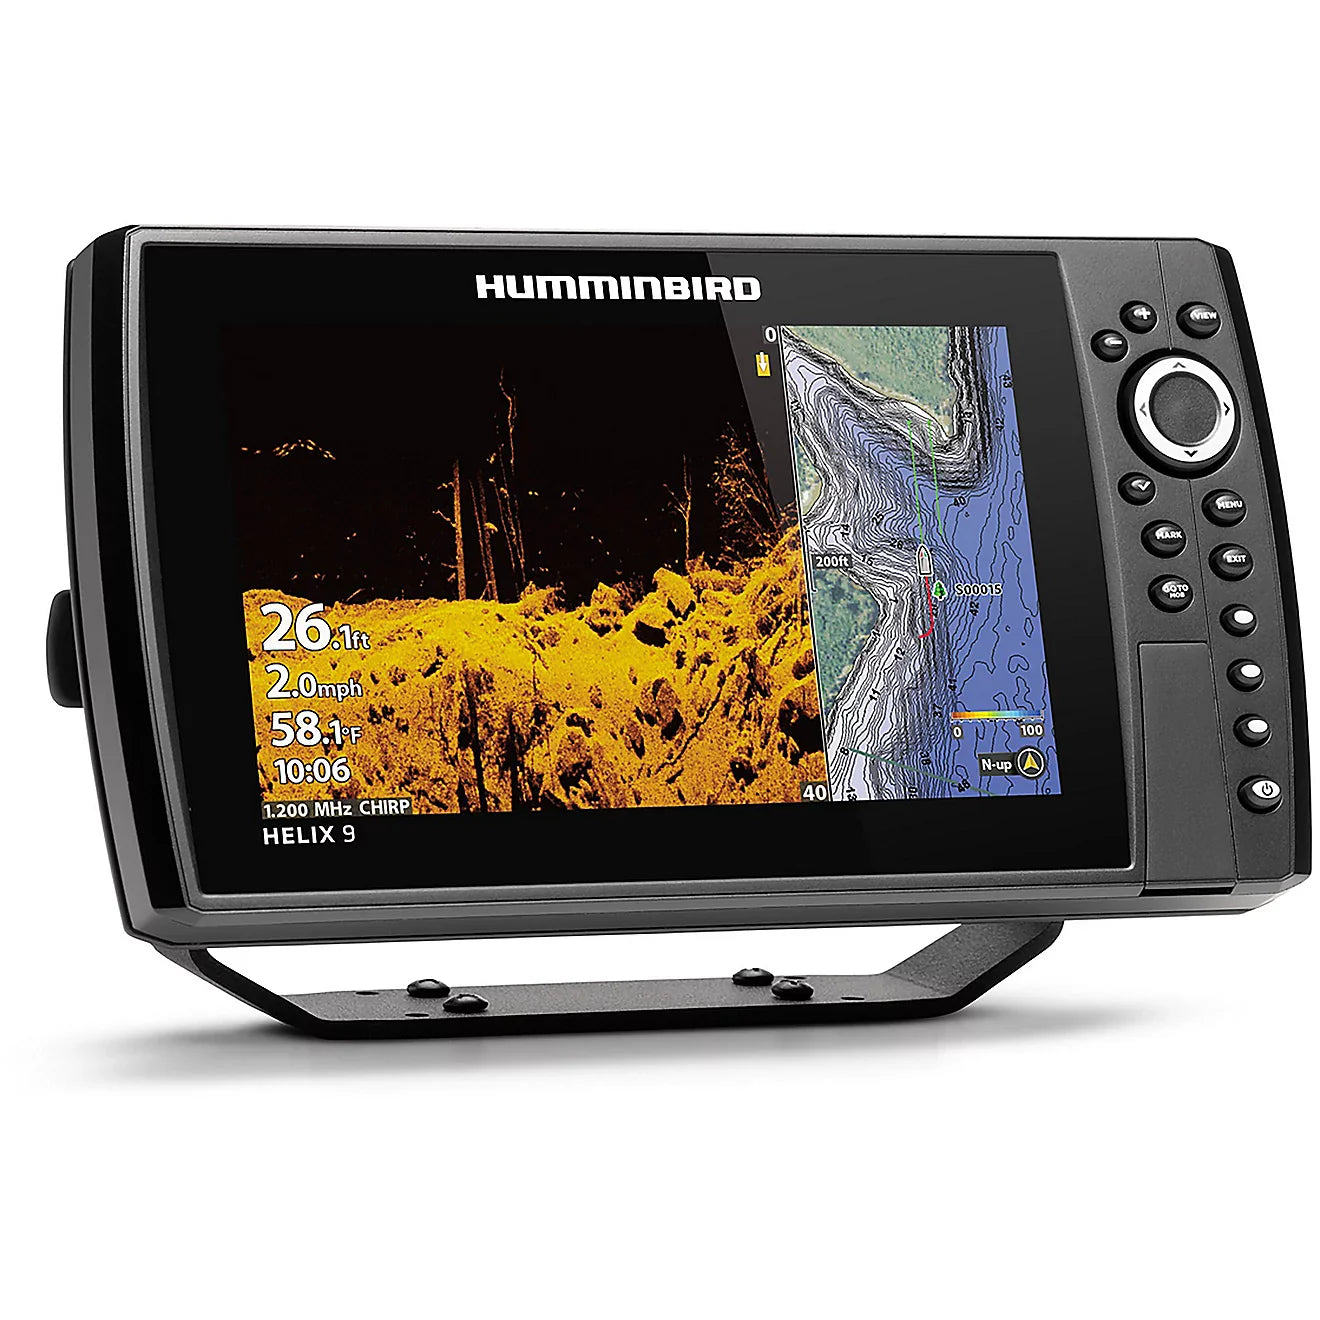
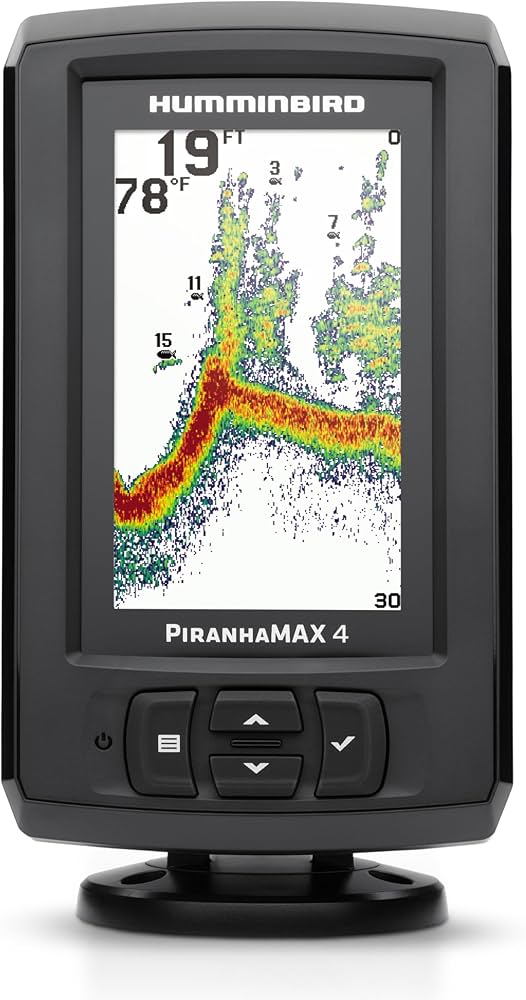
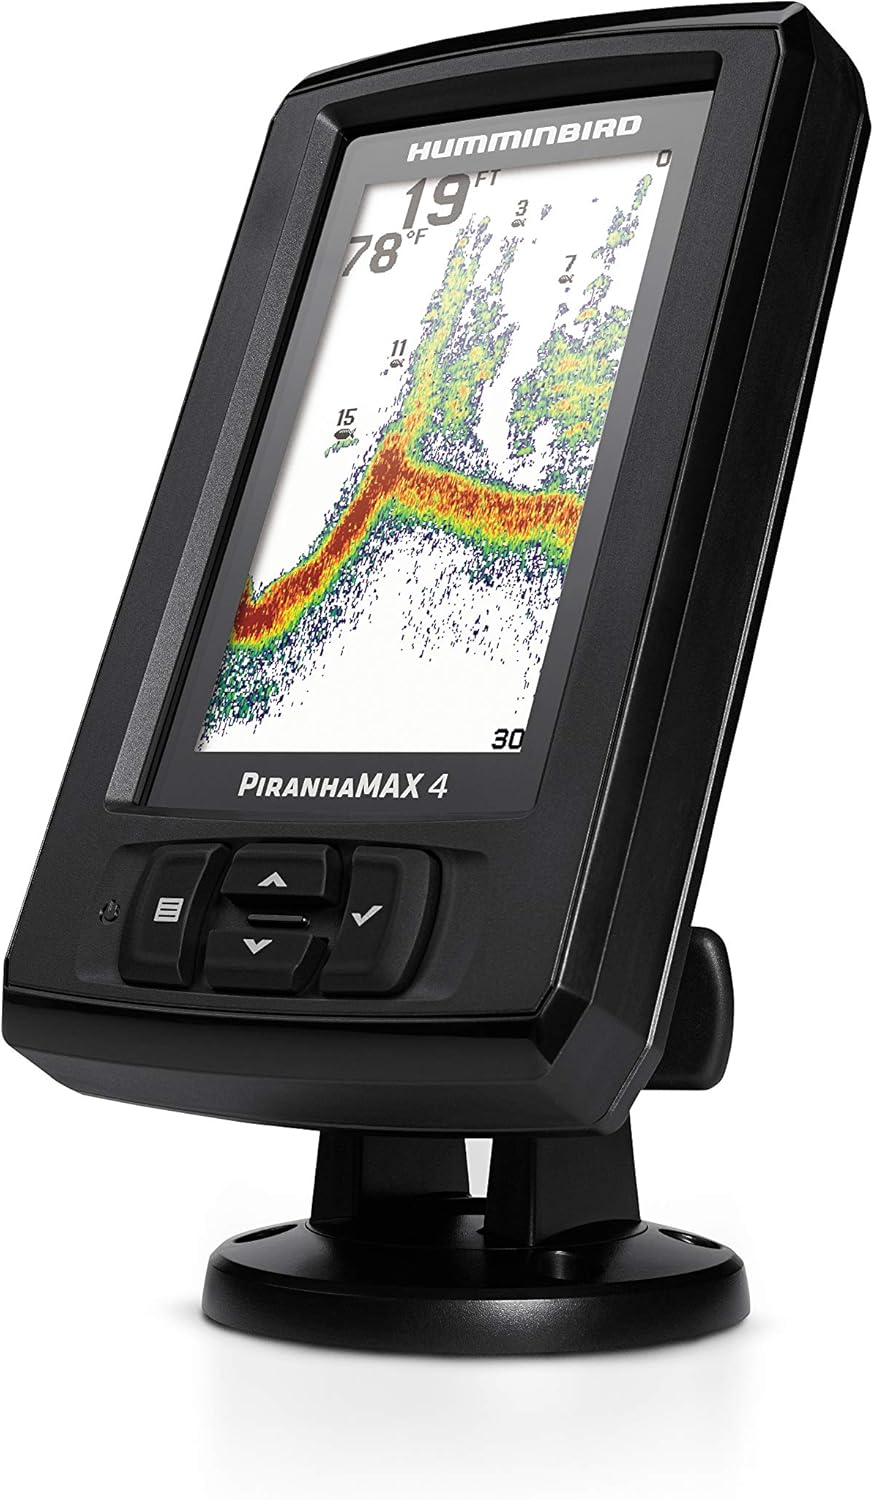
Fish finders are an invaluable tool for kayak fishing, helping you locate fish and understand water depth. Look for a compact, easy-to-install fish finder that includes features like GPS mapping, sonar, and a durable, waterproof display. Brands like Garmin, Lowrance, and Humminbird are popular among kayak anglers.
5.2 Power Source Considerations
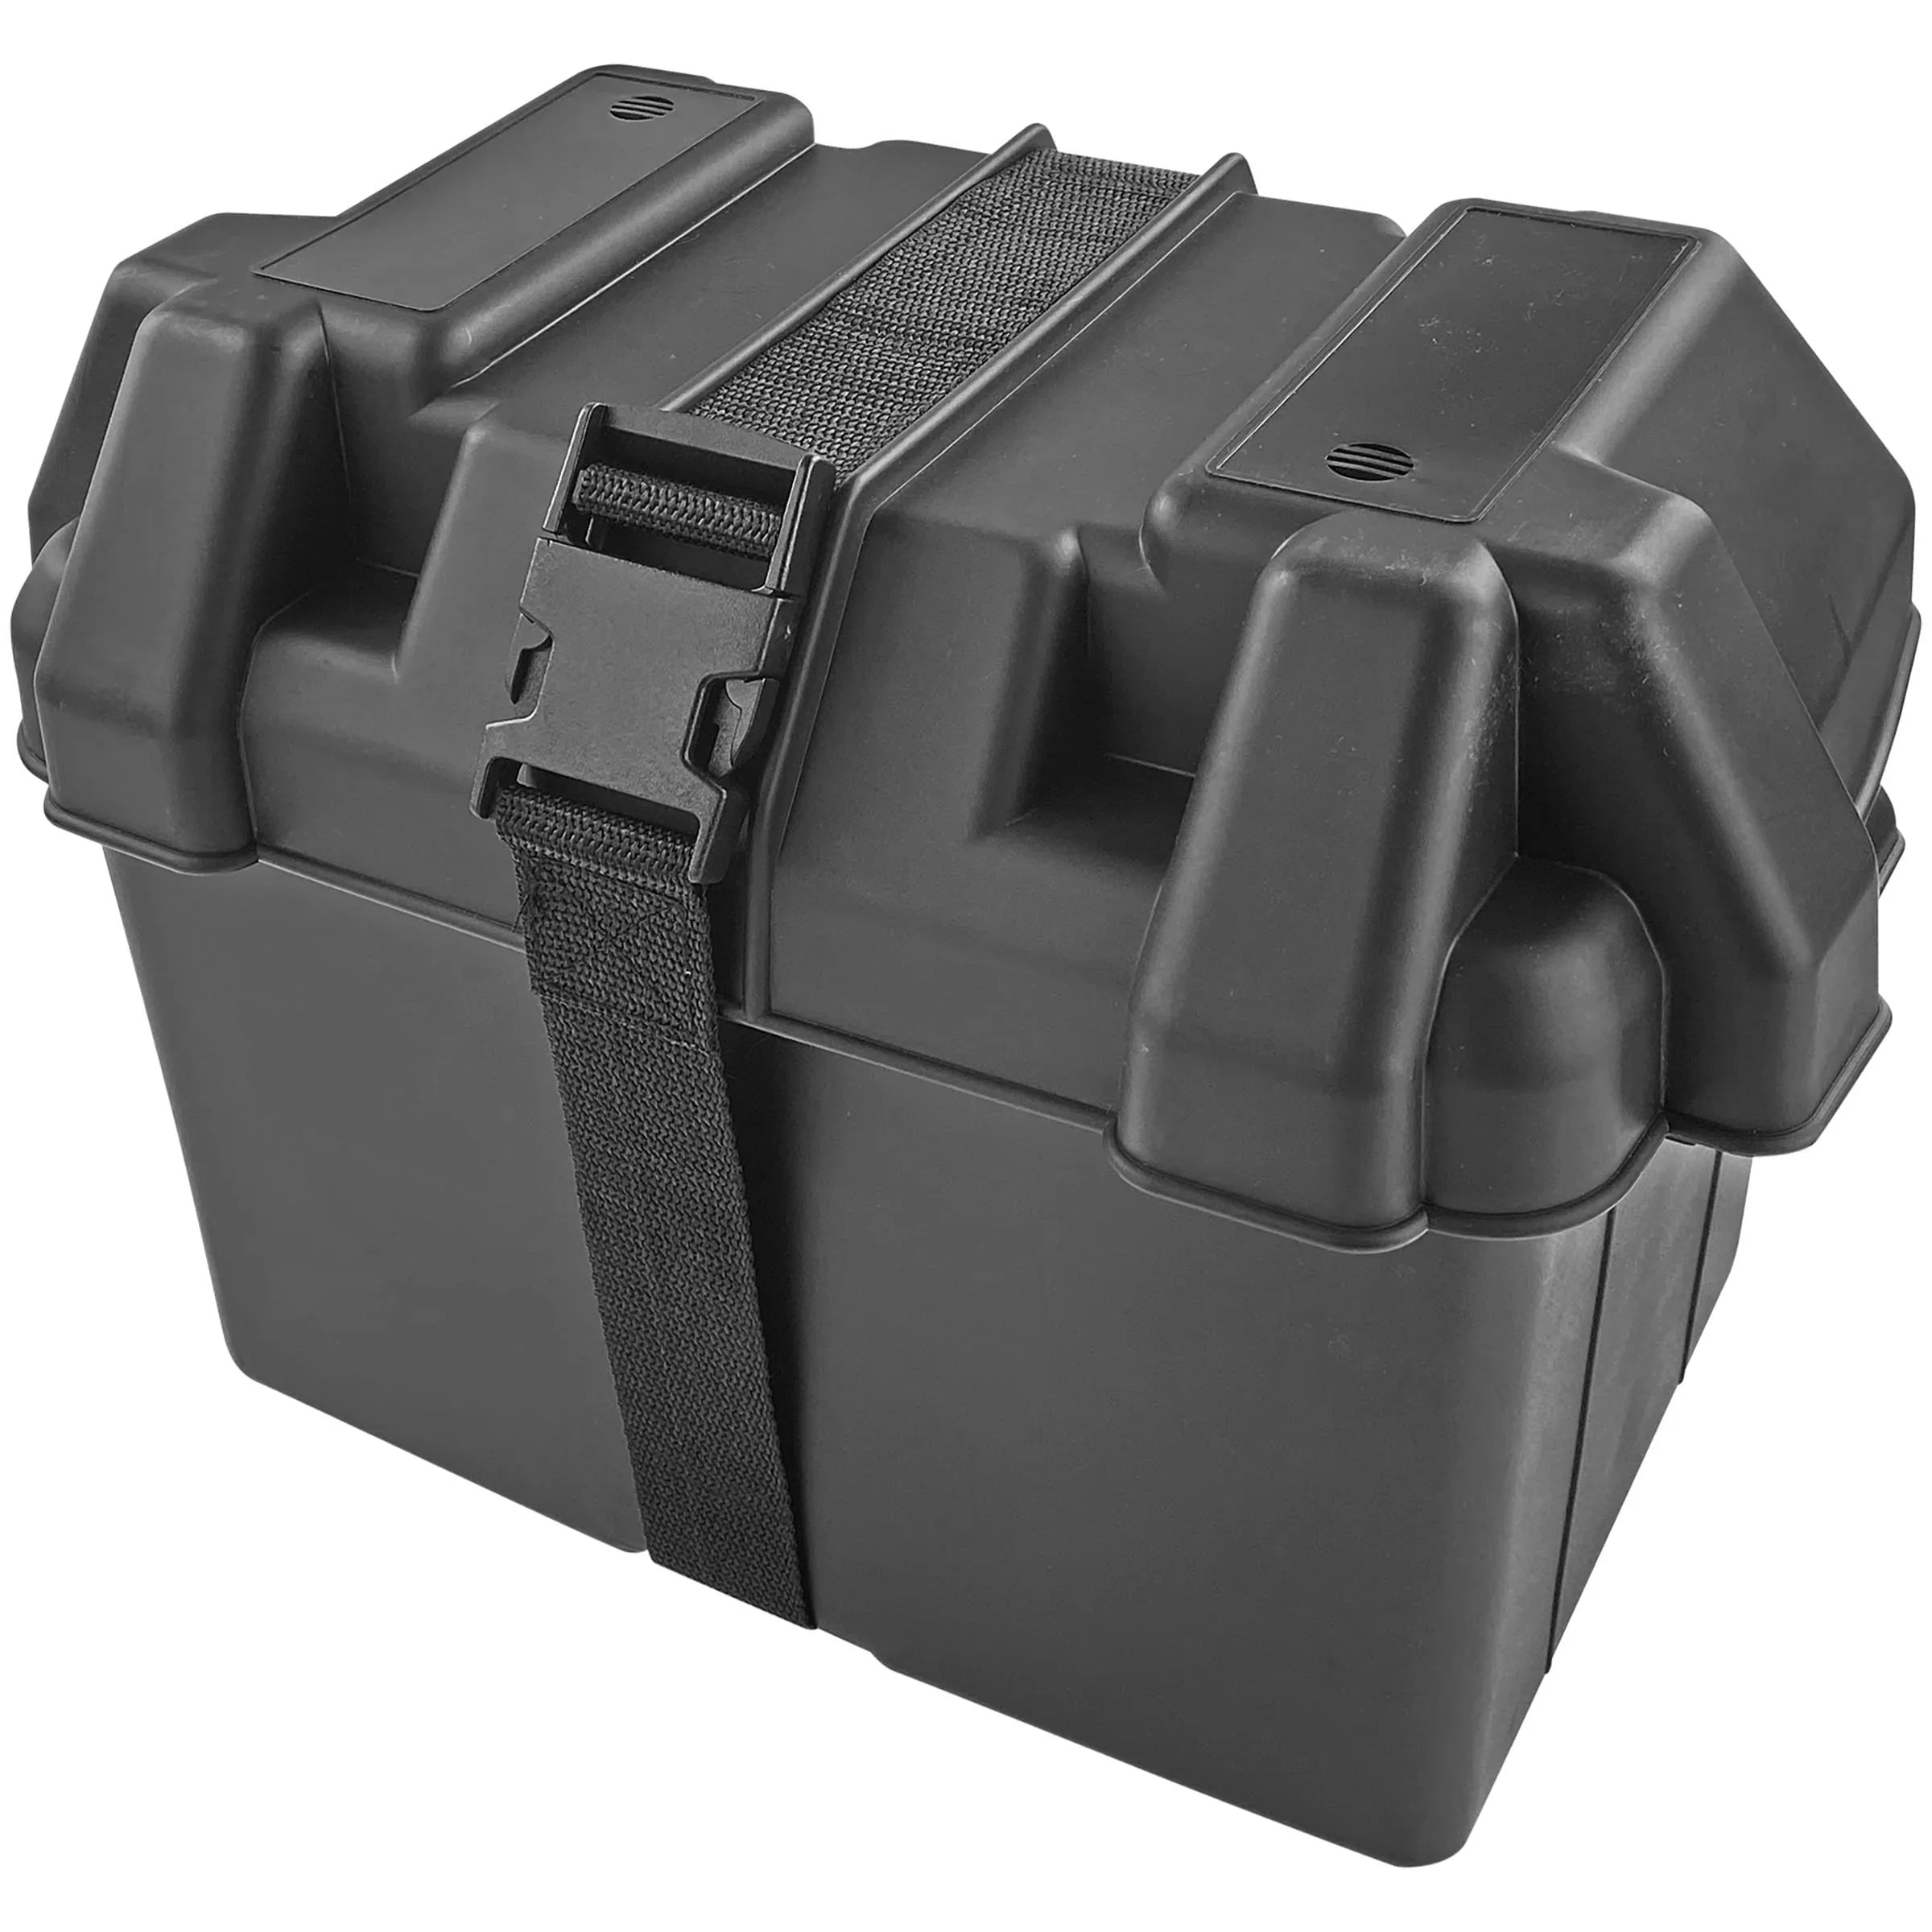
Most fish finders run on 12V batteries, which you’ll need to secure in a dry, accessible location. Consider using a waterproof battery box and marine-grade wiring to protect your electronics from water exposure.
5.3 Mounting Your Fish Finder
Install the transducer either through the hull or on the kayak’s exterior using a scupper mount or arm mount. Place the display within your line of sight but out of the way of paddling or casting. Mounting on the center console is a popular choice.
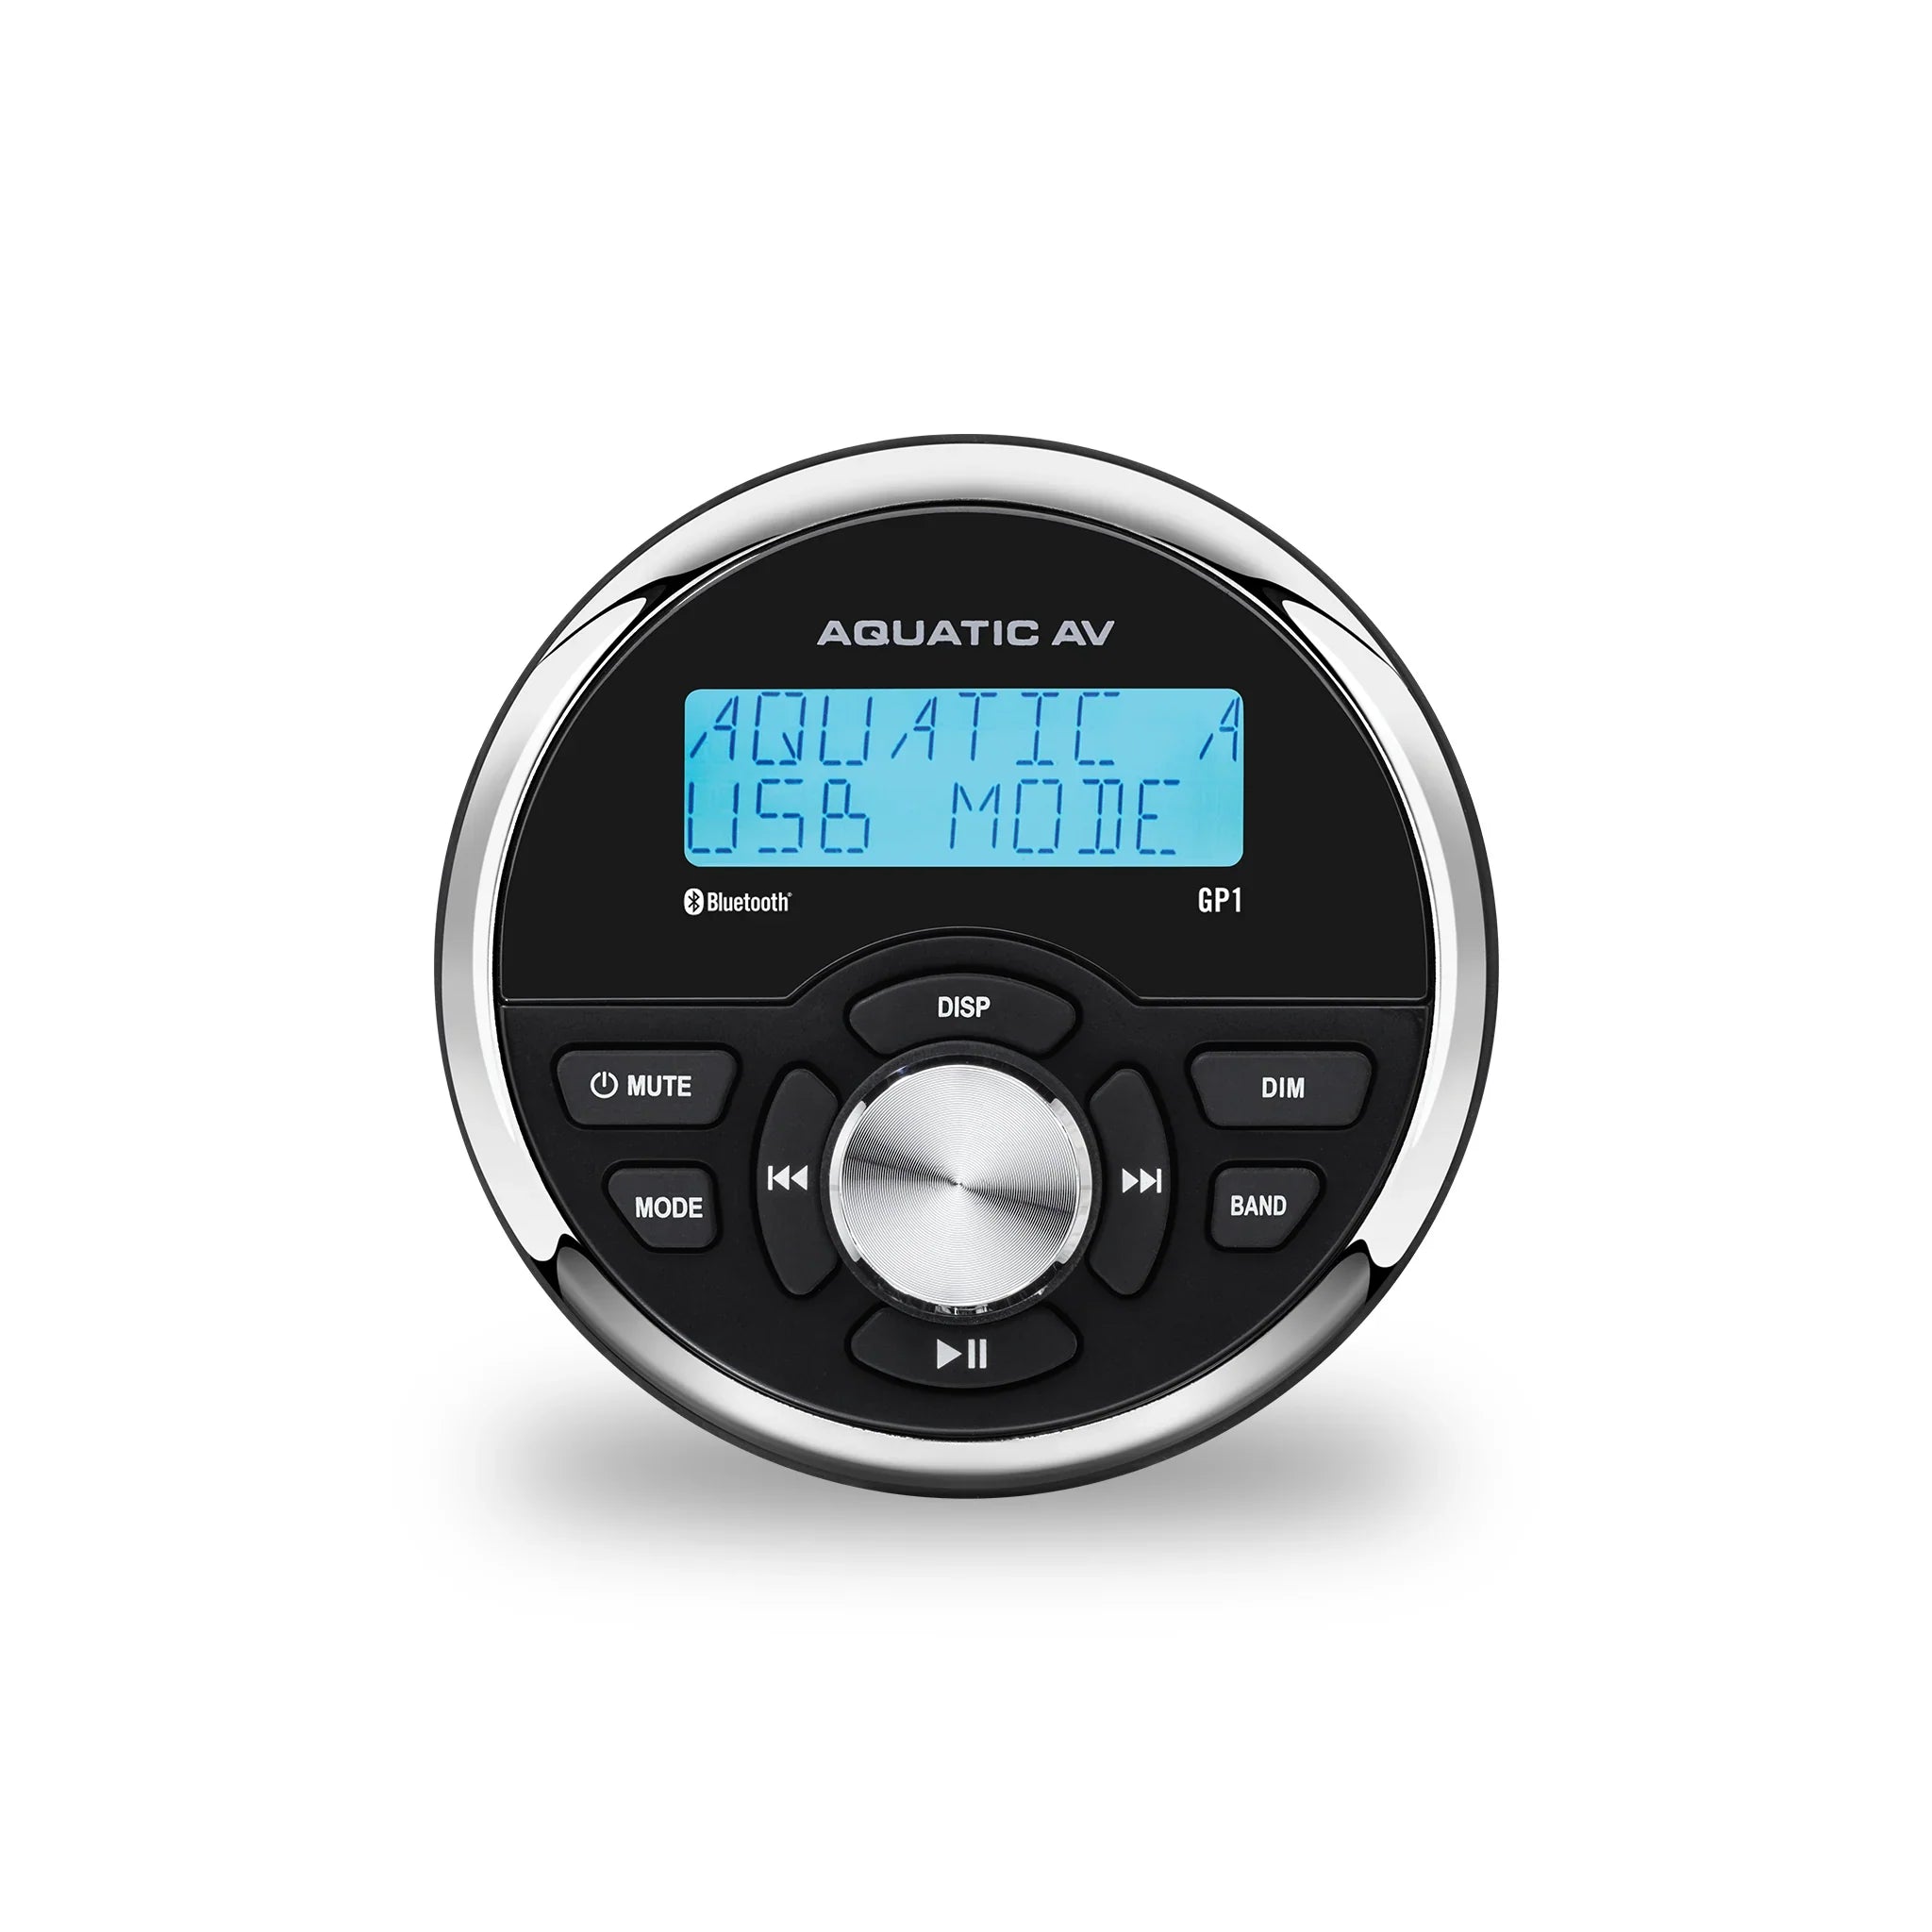
More Kayak Fishing Accessories Photos


6. Adding Storage Solutions
6.1 Tackle Storage Options
You’ll need dedicated space for your tackle and lures. A popular DIY modification involves attaching a milk crate to the rear storage area of the kayak. This crate can hold tackle boxes, rods, and additional gear. Add bungee cords to secure everything in place.
6.2 Installing Kayak Crates and Coolers
Install kayak crates or coolers behind the seat for easy access to your tackle and catch. For long fishing trips, coolers can double as storage for drinks and food, while keeping your fish fresh.
6.3 Waterproof Storage Compartments
If your kayak lacks dry storage, consider installing waterproof storage hatches. These compartments are great for stowing items like phones, keys, and extra tackle that need to stay dry.
7. Custom Seating for Comfort
7.1 Types of Kayak Seats
Upgrading your seat can significantly improve your comfort during long fishing trips. Look for a padded, adjustable seat with proper lumbar support. Elevated seats provide a better vantage point for sight fishing and make standing easier.
7.2 Installing Seat Risers
Raising your seat height can improve visibility and casting, but it also lowers the kayak’s stability. Install seat risers with caution, ensuring that your kayak remains stable. A height of 2 to 4 inches is usually sufficient.
7.3 Adjustable Seating for Long Fishing Days
Some anglers prefer adjustable or reclining seats to switch between paddling and fishing modes. Look for seats with multiple adjustment points to optimize your comfort throughout the day.
8. Kayak Anchoring Systems
8.1 Anchor Types: Stakeout Poles vs. Trolleys
When fishing in current or windy conditions, an anchor can be your best friend. Stakeout poles are simple, effective tools for anchoring in shallow waters. Anchor trolleys, on the other hand, allow you to adjust your anchor’s position along the length of your kayak, helping to control your orientation relative to the current or wind.
8.2 Installing an Anchor Trolley
To install an anchor trolley:
- Attach pulleys to the bow and stern of your kayak.
- Run a cord between the pulleys, attaching a carabiner at each end.
- The carabiners allow you to easily clip the anchor line in place.
8.3 Benefits of Using Anchors in Kayak Fishing
Using an anchor stabilizes your position, allowing you to fish in one spot without drifting. It’s particularly useful when fishing in tidal areas or rivers with strong currents.
9. Outfitting Your Kayak for Safety
9.1 Life Jackets and PFDs
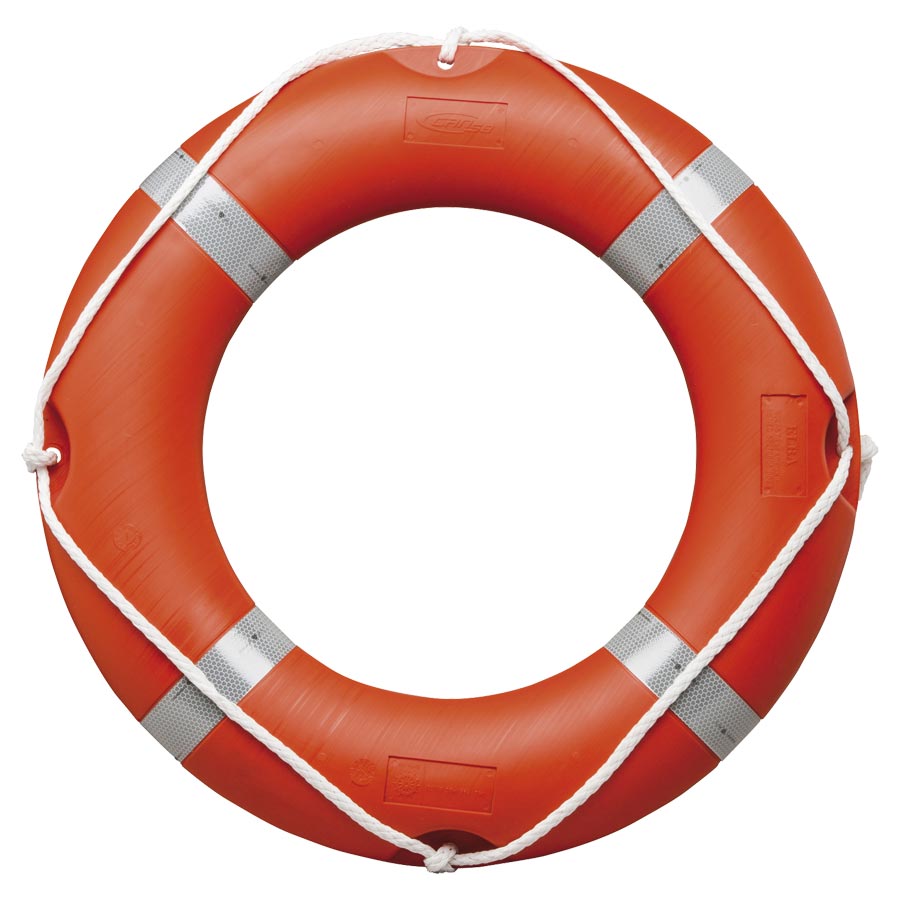
A proper personal flotation device (PFD) is mandatory for kayak fishing. Look for PFDs designed specifically for anglers, which include pockets for tackle, tools, and other fishing accessories.
9.2 Installing Deck Lighting
Adding LED deck lighting increases visibility, especially for early morning or night fishing. Place waterproof lights around the kayak’s deck for maximum safety. Some systems also include underwater lights to attract fish in low-light conditions.
9.3 Adding Safety Flags and Visibility Gear
To enhance your visibility on the water, especially in areas with motorboats, install a brightly colored safety flag on the rear of your kayak. Reflective tape and brightly colored decals can also improve your visibility to others on the water.
10. DIY Kayak Outriggers for Added Stability
10.1 Why Add Outriggers?
Outriggers are small floats that attach to the sides of your kayak, increasing its overall stability. They’re especially useful if you plan on standing while fishing or if you’re concerned about tipping in rough waters.
10.2 Building Your Own Outriggers
You can build outriggers using PVC pipe, foam floats, and metal brackets. Attach them to your kayak using universal mount systems or custom-built brackets. The flotation devices should be placed far enough from the kayak to avoid interference with paddling but close enough to provide balance.
10.3 Mounting and Adjusting Outriggers
Outriggers should be mounted near the middle of your kayak, allowing for even distribution of weight. Adjustable outrigger systems can be retracted when not needed, providing more flexibility while paddling.
Kayak Outriggers Photo

11. Installing a Pedal Drive System
11.1 Benefits of Pedal-Powered Kayaks
A pedal drive system allows you to propel your kayak using your legs, freeing your hands for fishing. This is a major advantage when trolling or maneuvering through complex fishing spots.
11.2 Choosing the Right Pedal System
Brands like Hobie and Old Town offer pedal drive systems that can be installed in compatible kayaks. Ensure that your kayak is compatible with pedal systems before purchasing.
11.3 DIY Installation Guide
While some kayaks are pedal-ready, others require modifications. You may need to cut a hole in the hull to install the pedal system. Secure the drive using bolts and ensure that it is watertight by applying marine-grade sealant around the installation area.
12. Motorizing Your Kayak for Fishing
12.1 Trolling Motors for Kayaks
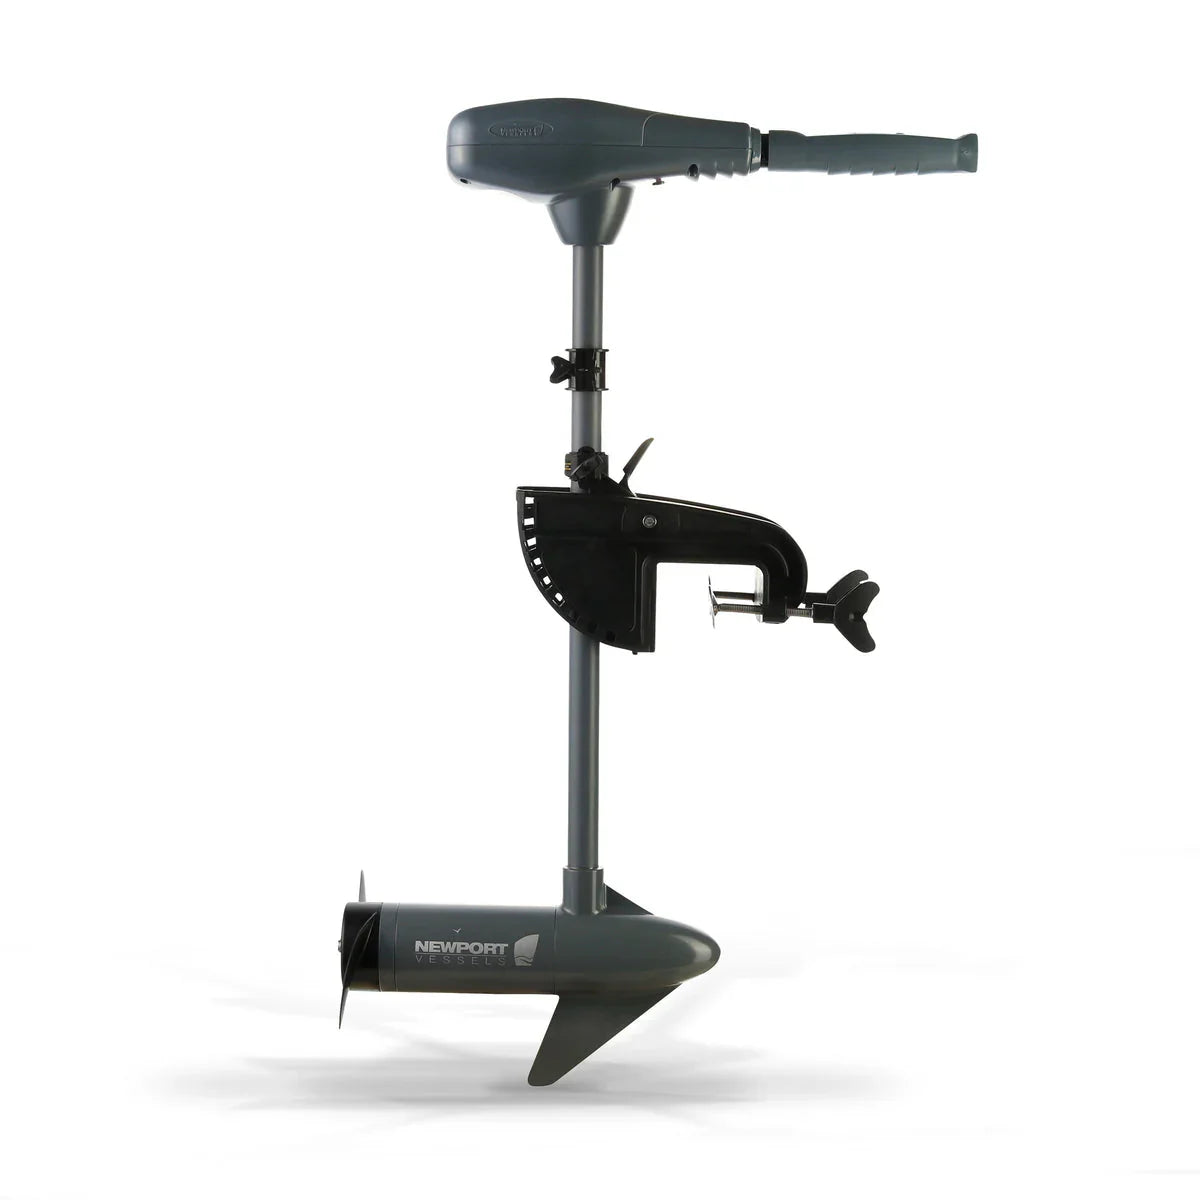
Trolling motors are small, electric motors designed for quiet, controlled propulsion. They are perfect for kayak fishing, allowing you to cover more water without exhausting yourself.
12.2 DIY Motor Mount Installation
You can install a trolling motor by building a DIY motor mount. Use stainless steel brackets and marine plywood to create a mount for the rear of your kayak. Secure the motor to the mount with bolts and ensure that it is aligned properly for smooth operation.
12.3 Battery and Power Management
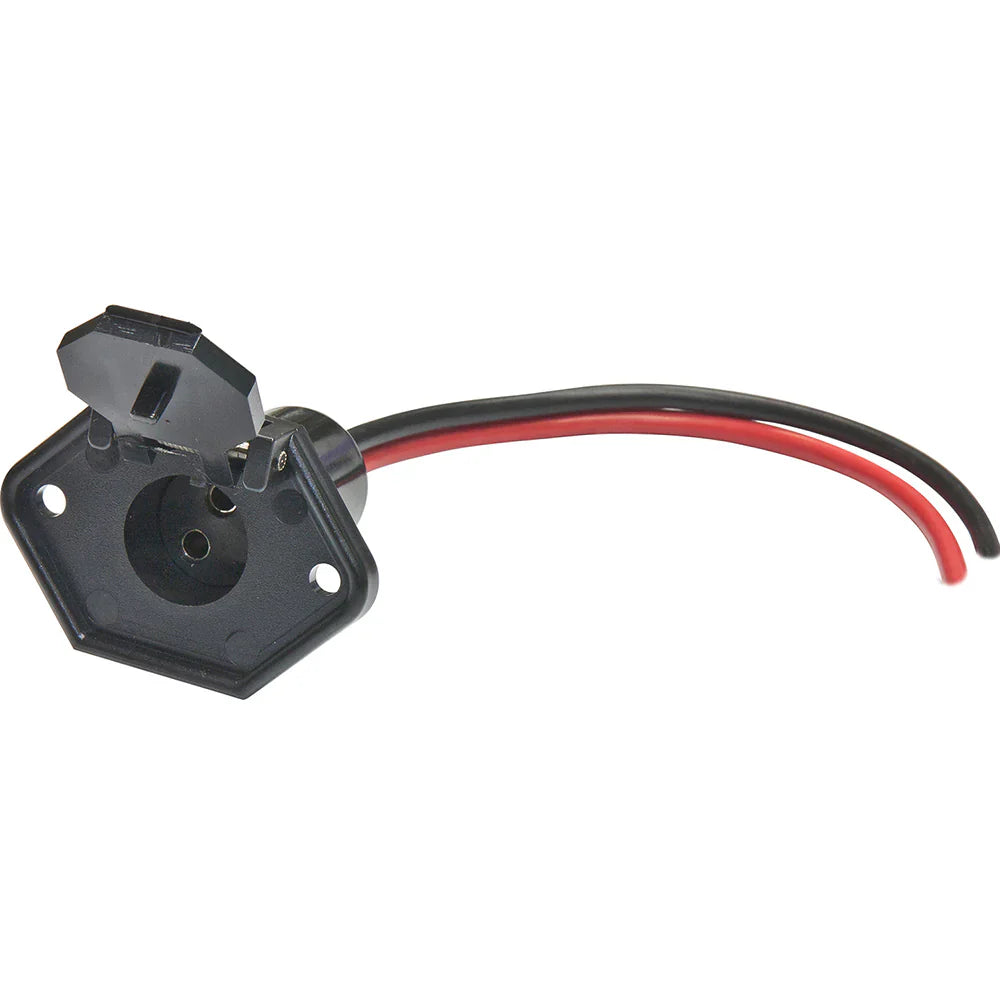
Kayak trolling motors require a 12V marine battery, which must be securely stored in a waterproof compartment. Consider using a battery box with an integrated power display to monitor your battery’s charge throughout the day.
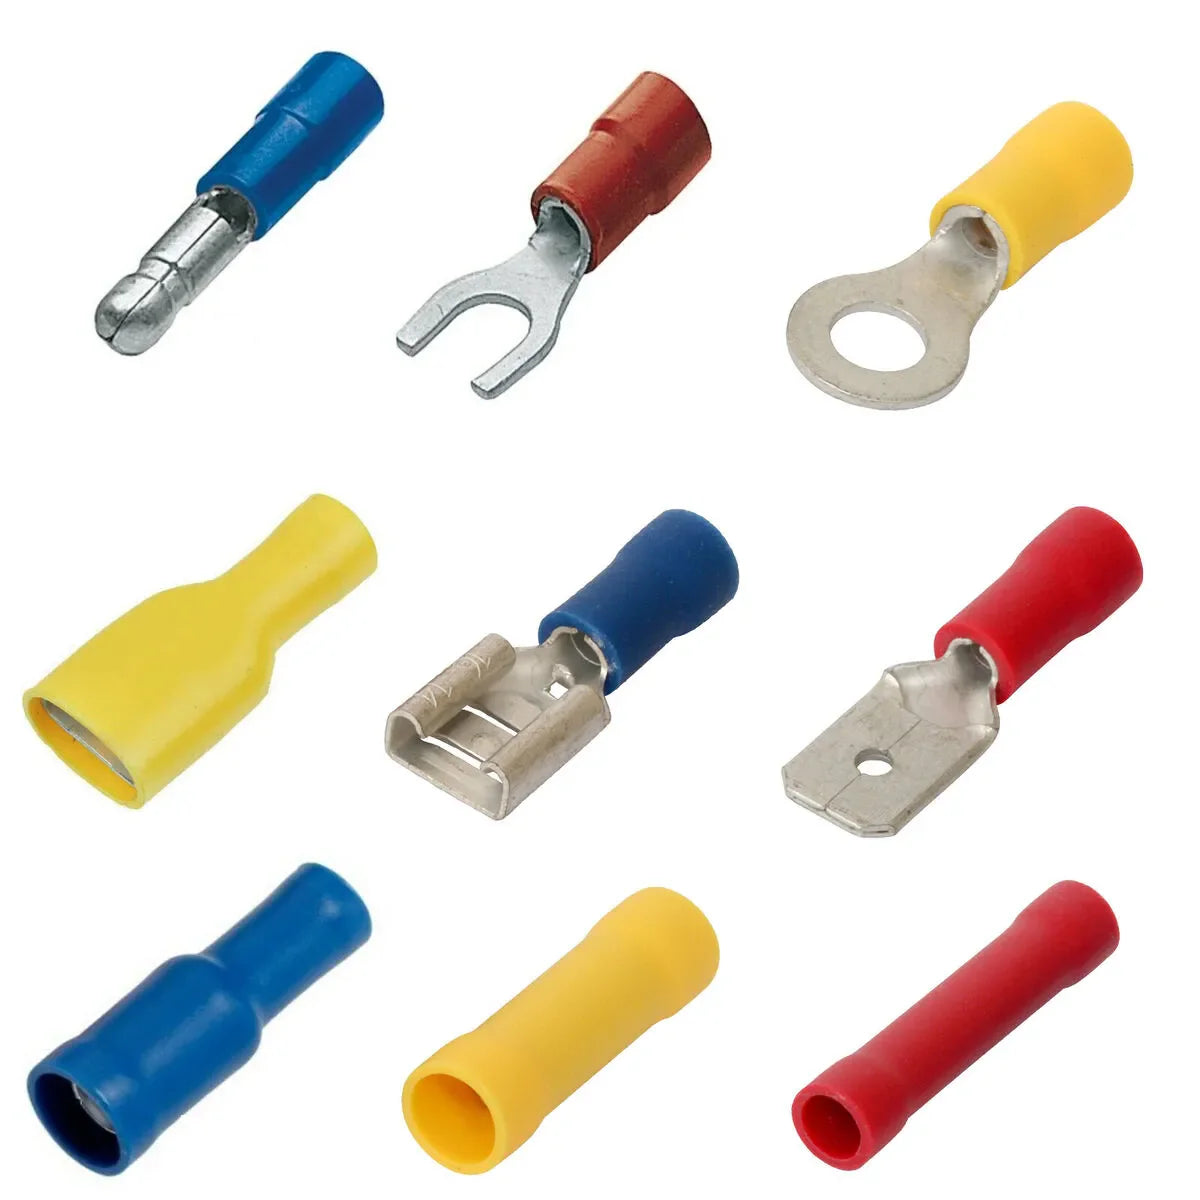
Kayak Motorization Accessories Photos


13. Upgrading Your Paddle for Fishing Efficiency
13.1 Paddle Length and Materials
Choose a lightweight paddle with the appropriate length for your kayak and fishing style. Anglers in wider kayaks may need longer paddles (240cm or more) to avoid hitting the sides of the kayak while paddling.
13.2 Adding Paddle Holders
Paddle holders allow you to secure your paddle when not in use, keeping your hands free for fishing. Install the holder on the side of your kayak for easy access.
13.3 Paddle Leashes and Accessories
A paddle leash ensures that your paddle stays attached to the kayak, even if you accidentally drop it into the water. Other useful accessories include grips for better control and blade covers to reduce noise when paddling near fish.
14. DIY Kayak Transportation and Launch Systems
14.1 Kayak Carts and Wheels
A kayak cart with wheels makes transporting your kayak to and from the water much easier. DIY kayak carts can be built using PVC pipes, wheels, and bungee cords for secure transport.
14.2 Roof Rack Systems
If you’re driving to your fishing spot, a roof rack system is essential for transporting your kayak. Choose a rack system that supports the weight of your kayak and allows for easy loading and unloading.
14.3 Launching and Transport Tips
When launching your kayak, use a cart to roll it into the water. Always load your gear into the kayak once it’s on the water to avoid overloading it on land. Ensure that you secure your kayak with tie-down straps when transporting it by car.
Kayak Transportation Systems Photos


15. Frequently Asked Questions (FAQs)
15.1 Is it Worth Converting a Kayak for Fishing?
Yes, converting a kayak for fishing can significantly enhance your fishing experience by adding comfort, efficiency, and specialized features that help you catch more fish.
15.2 Can I Use Any Kayak for Fishing?
While any kayak can technically be used for fishing, sit-on-top kayaks are generally better suited for this purpose due to their stability and ease of access to gear.
15.3 How Much Does It Cost to Convert a Kayak?
The cost of converting a kayak for fishing can vary widely, depending on the number of modifications. Basic upgrades like rod holders and storage may cost under $100, while adding electronics and motor systems can push the total to $500 or more.
15.4 Can I Add a Motor to My Fishing Kayak?
Yes, you can add a motor to most fishing kayaks, but you’ll need to install a motor mount and ensure that your kayak can handle the extra weight and power requirements.
15.5 What Safety Gear is Essential for Kayak Fishing?
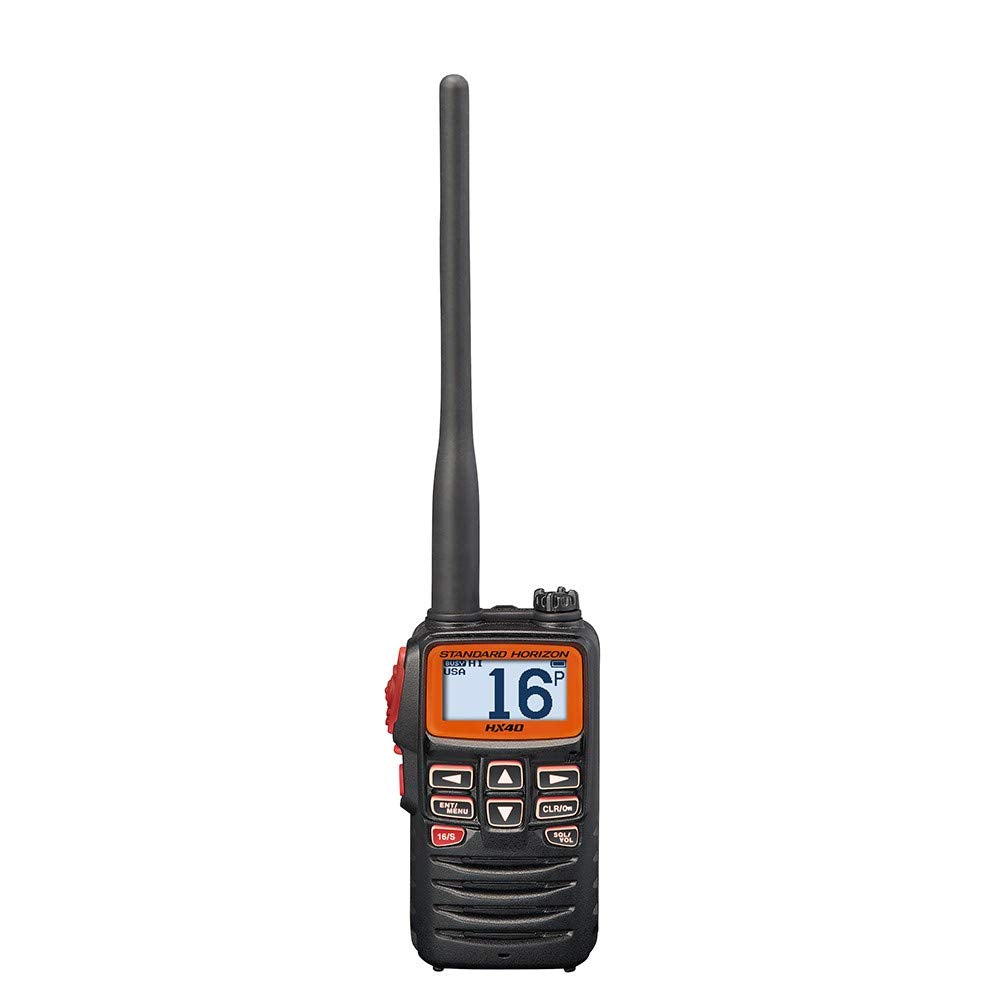
Essential safety gear includes a personal flotation device (PFD), a whistle, a safety flag, and navigation lights if fishing at night. Carrying a first-aid kit and knowing basic kayaking safety procedures is also important.
15.6 Do I Need a License for Kayak Fishing?
The need for a license depends on your location and whether you are fishing in freshwater or saltwater. Always check local regulations before heading out.
Conclusion
Converting a standard kayak into a fishing kayak is a rewarding DIY project that can transform your angling experience. From adding rod holders and fish finders to installing motors and anchors, the possibilities for customization are endless. Whether you're looking to build a budget-friendly fishing kayak or deck it out with high-tech gear, this guide provides a comprehensive roadmap to help you every step of the way.


