Turning a standard kayak into a confident fishing platform doesn’t have to be pricey or complicated. This step-by-step guide shows practical upgrades that deliver real on-water benefits—without overbuilding.
Why this matters now
Kayak fishing shines when fish push shallow or scatter into hard-to-reach water. A few smart upgrades improve stability, organization, and boat control so you can fish instead of fight your setup. We’ll focus on upgrades that pull double-duty: comfort + performance at a fair price.
Conditions: Excels for warm-weather river floats, calm lakes, and tidal creek edges where quiet approaches matter.
Choose the right kayak
(SOT vs. sit-in)
Sit-on-top (SOT):
Open deck, easier movement, usually more stable for standing. Self-bailing scupper holes help in chop. Great match for add-on gear tracks and crates.
-
- Best for: Rivers, lakes, inshore salt; anglers who stand or rig multiple rods.
- Trade-off: You’ll get splashed more in wind/chop.
Sit-in:
Enclosed cockpit keeps you drier and paddles efficiently on longer runs. Lighter to car-top, but tighter for standing and gear access.
-
- Best for: Cooler temps, longer paddles, minimalist rigs.
- Trade-off: Less freedom to move; gear access is inside the hull.
Size & stability quick hits:
Wider = more stable for standing. 12’+ tracks straighter and covers water better; sub-12’ turns quicker in creeks. Check the listed weight capacity for you + gear + water (a safe rule is to stay under ~70–75% of the stated max).
Core Upgrades That Matter
Start with the pieces that change your day on the water: seating, rod control, and simple storage. Each of these is designed for comfort, fast access, and fewer tangles.
Seat & posture
-
- Elevated seat or risers (2–4"): Better visibility and easier stands; test stability before committing.
- Back support: Adjustable lumbar keeps you casting longer with less fatigue.
Rod holders & deck layout
-
- Track-mount adjustable holders: Angle your rod for trolling or drift fishing; move as needed.
- Flush-mount behind the seat: Clean look and always-there storage; seal with marine silicone.
- Leashes: Cheap insurance for rods and paddle.
Smart storage
-
- Crate or soft crate: Holds 3600/3700 boxes, pliers, and a small cooler. Add bungees for security.
- Dry hatch / pouch: Phone, keys, license, first-aid stay dry and reachable.
- Deck staging: One box open, the rest stowed to prevent clutter.
60-minute Conversion Checklist
- Fit your seat (or add risers) and confirm you can reach paddle, rods, and pliers without twisting.
- Add one adjustable track-mount rod holder. Test casting angles seated and standing.
- Drop in a crate or soft crate with two 3700 boxes (day’s essentials) and a small dry pouch.
- Rig a paddle leash and one rod leash. Check that nothing snags line on the sweep cast.
- Install a simple anchor trolley kit; test bow- vs. stern-anchored drifts near shore.
- Optional: mount a compact fish finder and secure a 12V battery in a dry box with fused leads.
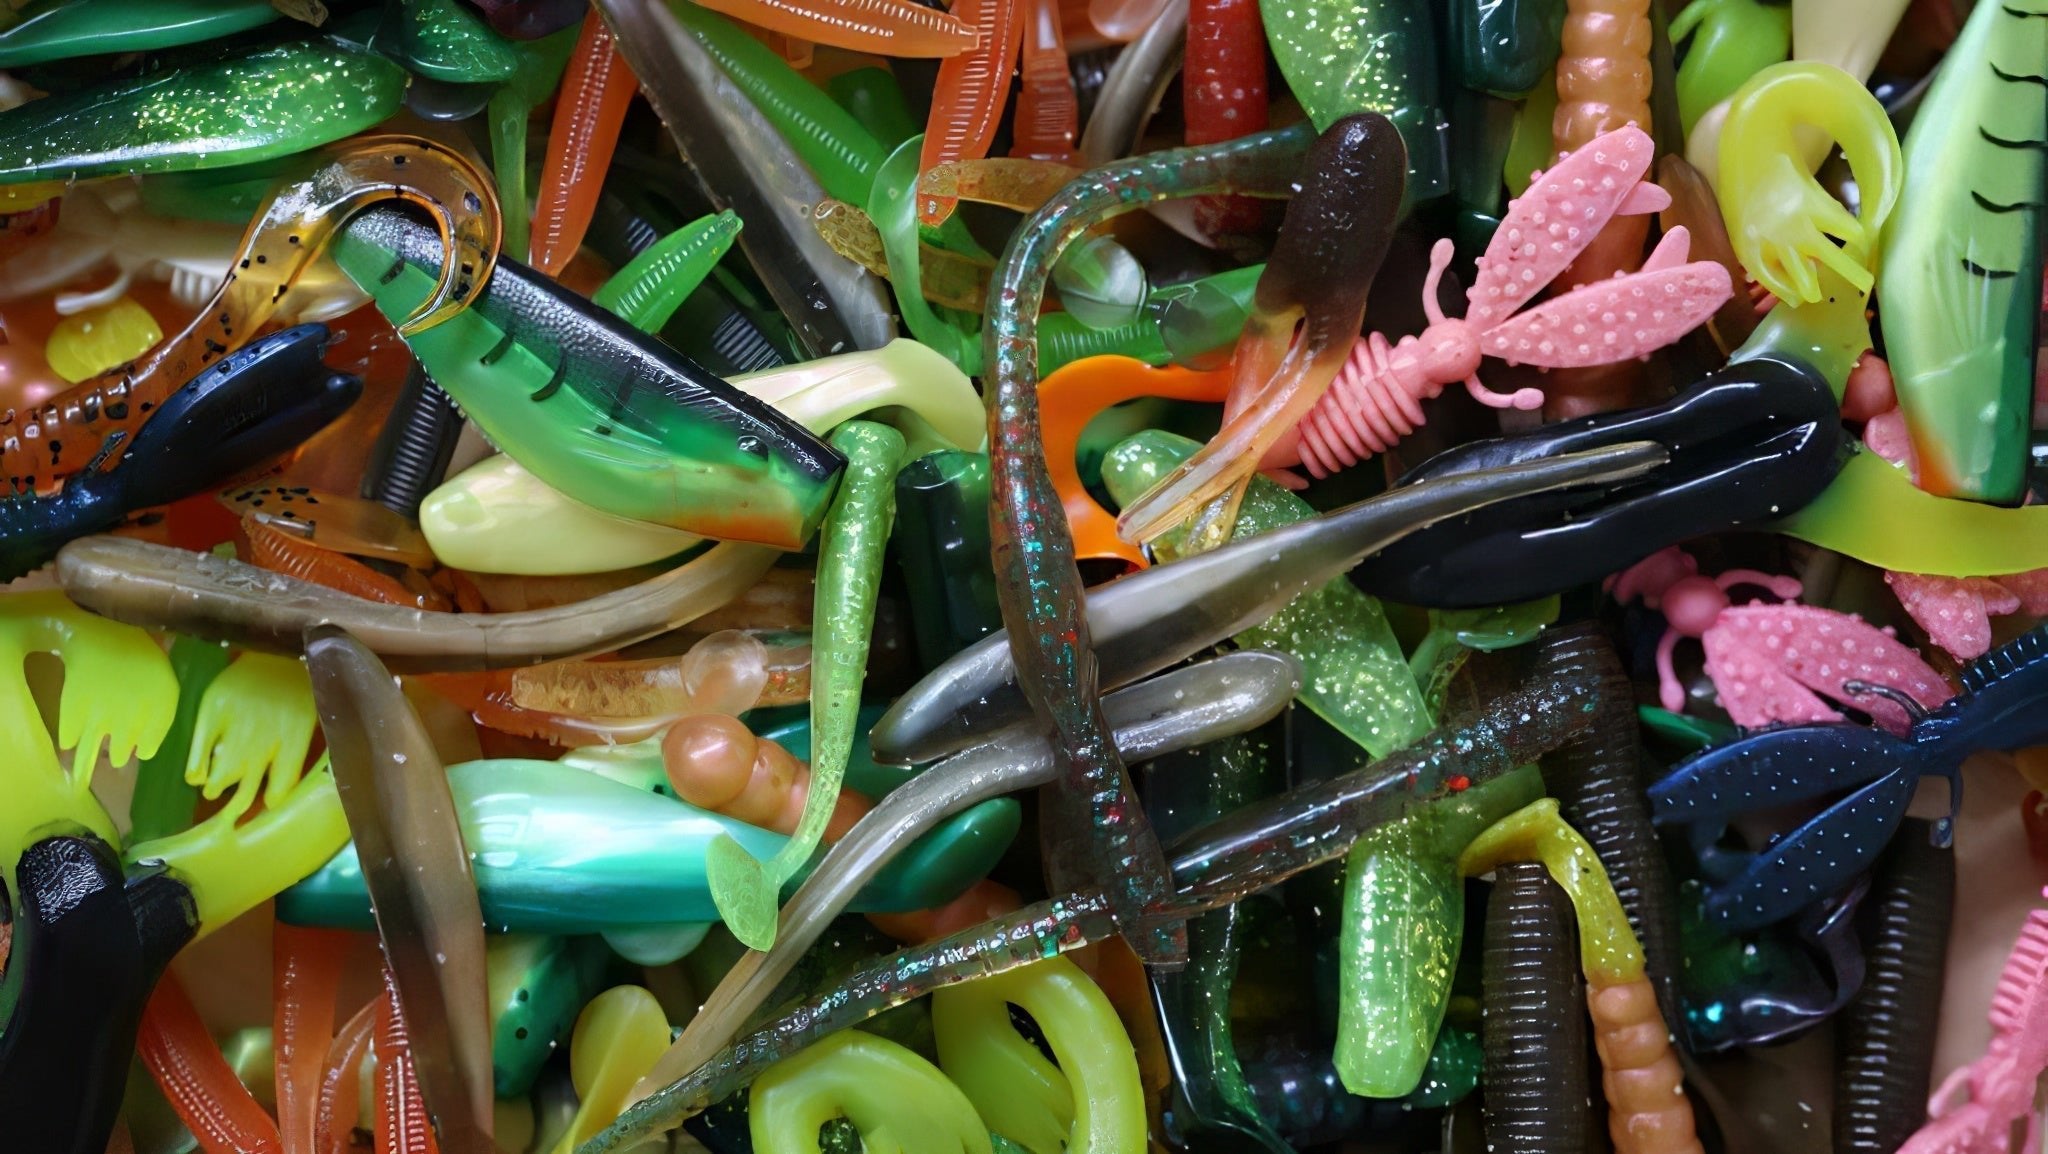
Helpful Gear Types
- Walking topwaters (cover water fast)
- Finesse worms (pick apart targets)
- Craw trailers (dock corners & rock)
* When we call out American-made, we follow FTC guidance. If a product is “Assembled in USA with domestic and imported components” we’ll state so clearly on its page.
Quick FAQ
Do I need a special kayak to start? Not necessarily. SOT models make rigging easier, but simple add-ons (crate, one rod holder, leash) transform almost any kayak.
How much should I budget first? Many anglers see a big improvement with $75–$200 (seat tweaks, 1–2 holders, crate, trolley kit). Add electronics later if needed.
Can I stand in my kayak? Often, yes—if width and hull allow. Test near shore with PFD on. Wider footprints and outrigger kits increase stability.
What’s the safest anchor setup? An anchor trolley. It lets you shift where the boat “pulls” so you face wind or current correctly.